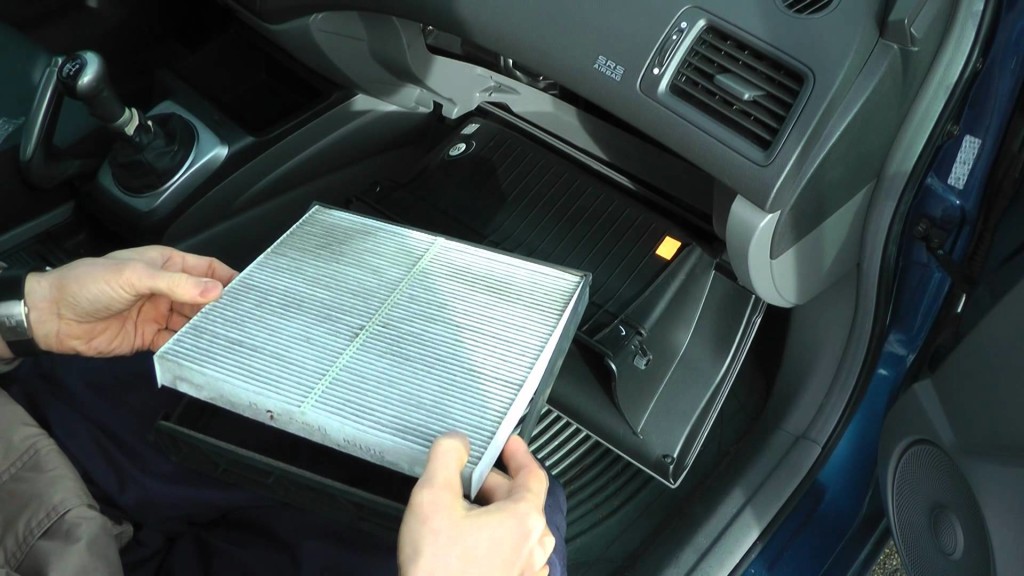
 To keep your Honda running smoothly, you will need to change the air filter every once in a while. This is a fairly straightforward task, so many Birmingham drivers feel comfortable doing it themselves. Going the DIY route can save you some money, but you will need to know what to do.
Consider Hiring a Professional
Before you get too far along with changing your Honda’s air filter, take the time to consider whether you feel comfortable doing so yourself. You can watch a few tutorial videos online to see if the process makes sense. There is no shame in having a Honda mechanic change the air filter for you, even if you know what you are doing. After all, he or she will have the appropriate replacement parts right in the workshop.
The Process
To get ready to change your air filter, you just need the replacement filter and a screwdriver. You may also want to keep a rag handy so you can wipe off your hands, as they may get messy. Start by popping your hood and looking for the air filter. It will usually be in black plastic and similar in size to a bread loaf. In some models, it may be behind the glove box. If you can’t find it or want to confirm its location, check your owner’s manual. You will now want to use your screwdriver to unscrew the screws securing the filter enclosure. It may have snaps instead of screws, in which case a flathead screwdriver can give you the necessary leverage.
Examine your air filter to see if it looks like it should be changed; if it is covered in dust and debris, it is time to replace it. Simply remove the old air filter and put the new one in place. Finish by securing the screws or snaps.
For more information on simple Honda repairs you can do yourself or to have an expert perform the task for you, head to the service center at Brannon Honda in Birmingham, Alabama.
Disclaimer: The stock image is being used for illustrative purposes only, and it is not a direct representation of the business, recipe, or activity listed. Any person depicted in the stock image is a model.

