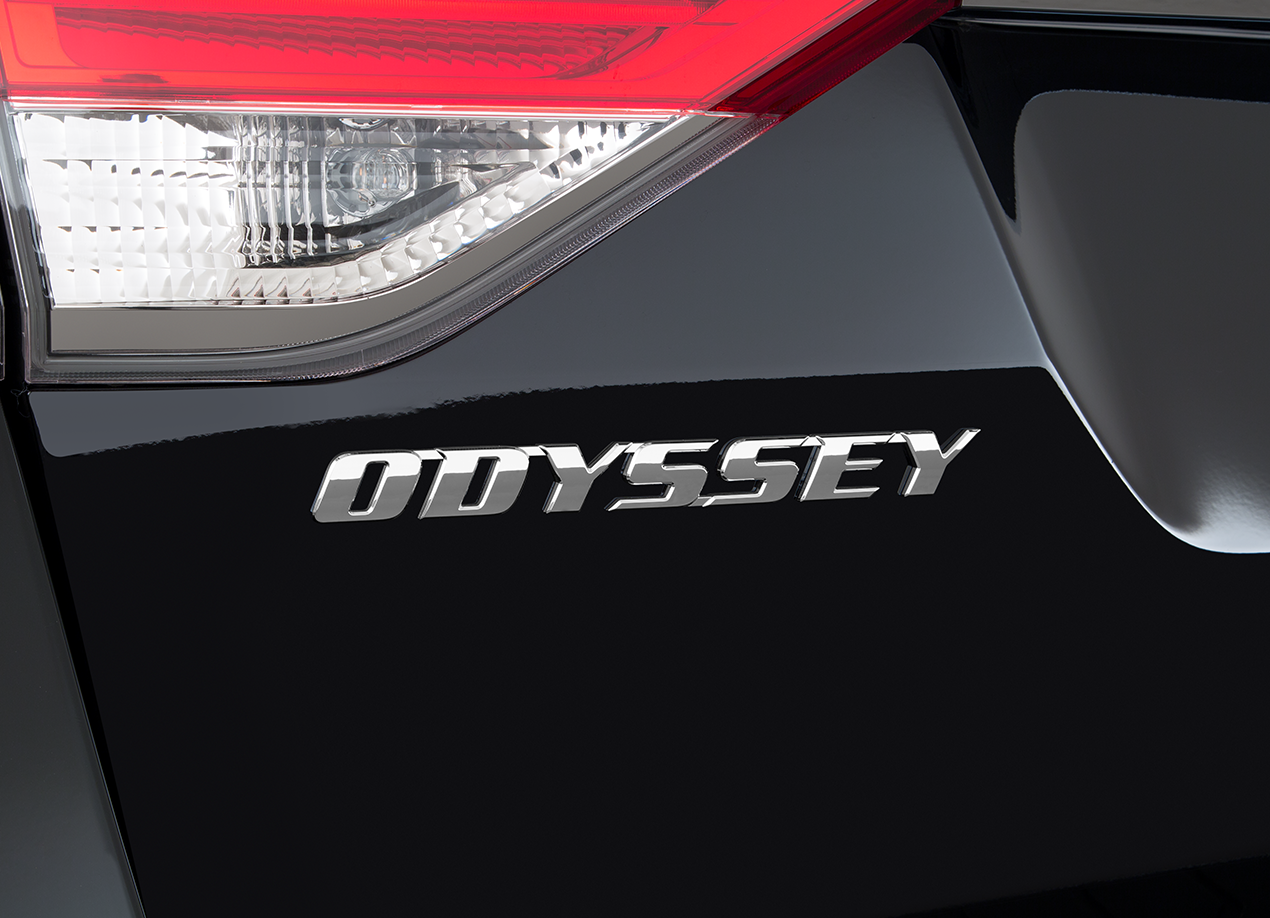
When the taillight is out in your Honda Odyssey, it is urgent that it gets fixed immediately. The taillight is the main brake light for you Odyssey; and safety aside, you could get a ticket for having a taillight out!
The bulb internal to the taillight assembly is a 7443-bulb type and can be replaced by any neighborhood mechanic in 10 minutes. However, if you are the DIY type, it is pretty simple to replace the taillight bulb by yourself. Here is a guide that is easy to follow:
Before beginning your taillight replacement, make sure that you disconnect the battery; this will avoid shorting anything out. After disconnecting the battery, notice that there are two tabs on the inner plastic casing of your tail lamp assembly. Insert a flat head screwdriver and pull towards the middle of the van to get these tabs open. Unscrew the two bolts with a small Phillips head screwdriver to pull off the rear tail lamp assembly. Once both screws are removed, pull away on the tail lamp to remove the casing entirely. Once the casing is removed, grab the plastic cover and turn it counterclockwise to free the tail light bulb from the casing.
Now, pull out the blown bulb and discard it. When you put your new bulb into the socket, make sure you use gloves or hold it with a cloth. Since this bulb is s 7443 type, you need to make sure that the bulb is completely installed; this is necessary if you want the bulb to function properly.
And that is all! That wasn’t too hard, was it? If you have any questions, or are looking to purchase a Honda Odyssey, then give Brannon Honda a call or swing by the lot. We look forward to hearing from you!
Disclaimer: The stock image is being used for illustrative purposes only, and it is not a direct representation of the business, recipe, or activity listed. Any person depicted in the stock image is a model.

